Whether you're new to Minecraft or really good at it, iron is super useful. It's not challenging to find, makes your tools better, and can help you build fine houses. Yet there's only so much iron in one place, so you need to explore more to get more. Don’t worry! We've got a solution! Just follow our guide to make an iron farm, and you won't need to search for iron anymore. No more digging in mines! Sounds fun, right? Let's get started and learn how to make an iron farm in Minecraft.
The Way an Iron Farm Works in Minecraft
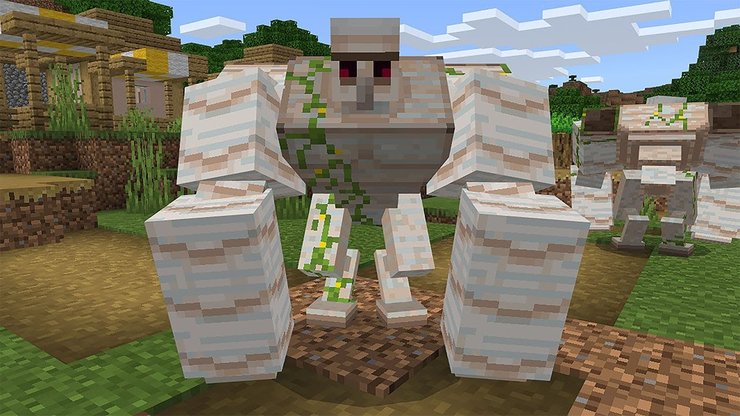
In Minecraft, you can get iron in two ways. The first way is to find and mine iron ores, which can be tough. The second, more intense way is by defeating Iron Golems. These big guys are made of iron and drop iron pieces when they're defeated. This is the same idea that our automatic iron farm uses.
In the iron farm, it creates Iron Golems every so often and then defeats them to gather iron pieces. You do not need to do anything yourself; it all happens on its own. Your work is no more than collecting the iron; the rest is automatic.
Iron Golems Spawning Mechanics
Iron Golems usually appear near villagers, but if you want to make them show up on your own, you need to meet these conditions:
- There are 3 villagers around.
- Provide 3 beds for those villagers to sleep in.
- Bring in a zombie to frighten the villagers, which will make an Iron Golem appear.
So, to put it simply, an Iron Golem shows up when 3 scared villagers have beds to sleep in, and there isn't already another Iron Golem nearby. To make things easier, it's a good idea to build your iron farm away from other villages in the game. Alternatively, you could clear out a village, leaving just 3 villagers to meet the requirements.
How to Make an Iron Farm in Minecraft: Items Required
Before learning how to make an iron farm in Minecraft, players need to collect the following items first:
- 2 villagers
- 1 Zombie
- 12 pieces of scaffolding or ladders (optional)
- 3 stacks (192 copies) of any solid blocks (including glass)
- 2 sticky pistons
- 2 sculk sensors
- 1 bucket of water
- 1 bucket of lava
- 4 wooden signs
- 1 hopper
- 1 chest
- 1 name tag
You can easily gather all the items mentioned above by finding villagers, chests, and sturdy blocks in Minecraft villages. Plus, villages can also have zombies at night, so you're all set in that department too.
Sticky Pistons
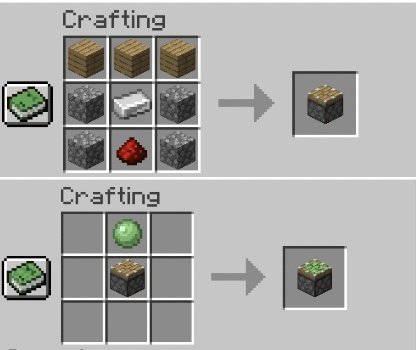
To make a sticky piston in Minecraft, put together slime balls and a regular piston. Now, making a standard piston involves using 1 piece of Redstone dust, 4 cobblestone blocks, 3 wooden planks, and an iron ingot in the crafting recipe.
Buckets
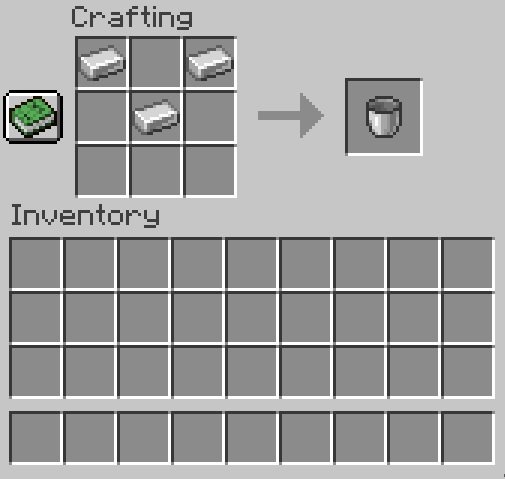
You can create a bucket by crafting it with three iron ingots on a crafting table. To begin setting up an iron farm, prepare a bucket of water and a bucket of lava to collect and use these liquids.
Sculk Sensor
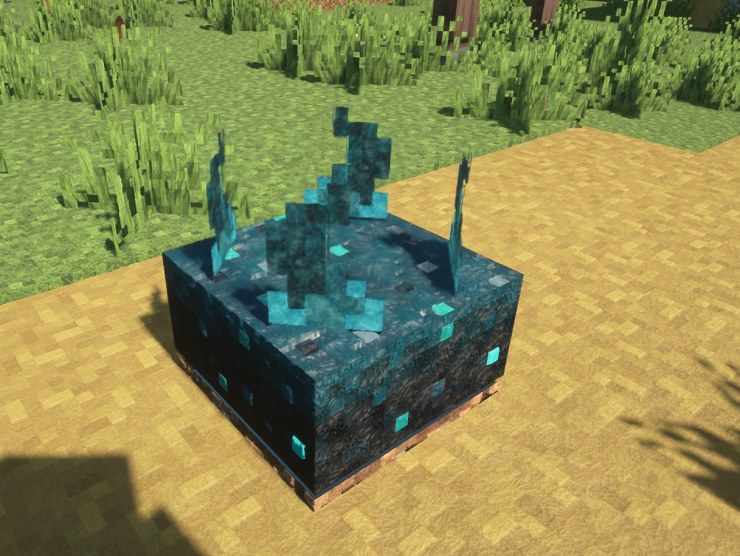
The Sculk Sensor is a special block found in the deep dark biome, which was added in the Minecraft 1.19 update. Unlike some other blocks in this biome, Sculk Sensors aren't limited to Ancient cities, so you can find them elsewhere, away from the intimidating new mob called the Warden.
>> Read more: Complete Guide For The Warden In Minecraft 2023
However, there's a catch: You need to use a hoe that has a silk touch enchantment to break and collect this block. If you try to break it without a silk touch-enchanted hoe, the Sculk Sensor will be destroyed instead of dropping as an item.
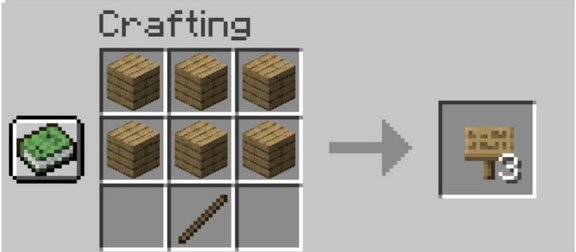
Signs
Creating signs in Minecraft is a straightforward process. Just combine 6 wooden planks with a stick, and you can craft 3 signs at once. Follow the crafting recipe displayed in the screenshot below to do it.
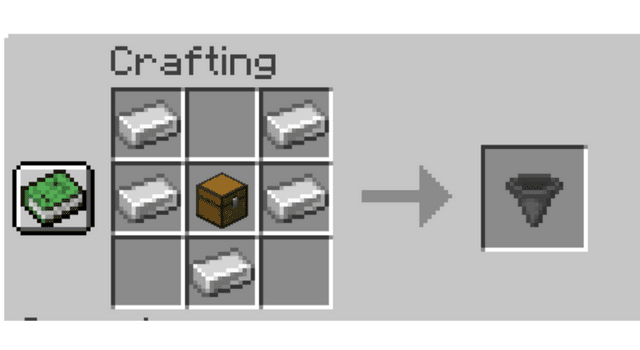
Hoppers
Hoppers are incredibly handy utility blocks, especially for our iron farm to work correctly. To make a hopper in Minecraft, you'll need to combine 5 iron ingots with a chest, following this recipe:
Name tag
Nametags are special and somewhat rare items in Minecraft that let you give a name to any game mob. Unlike most in-game items, players can't craft the nametags. Instead, explore the Minecraft world to find them. Nametags can often be discovered in chests located in dungeons, mineshafts, and woodland mansions. Another way to obtain name tags is by trading with librarian villagers or by going fishing in rivers and oceans.
>> Watch more:
How to Make an Iron Farm in Minecraft
When building an iron farm in Minecraft, it's crucial to remember that it contains various interconnected parts. Just make sure you follow the right order while constructing each single part to ensure everything works smoothly.
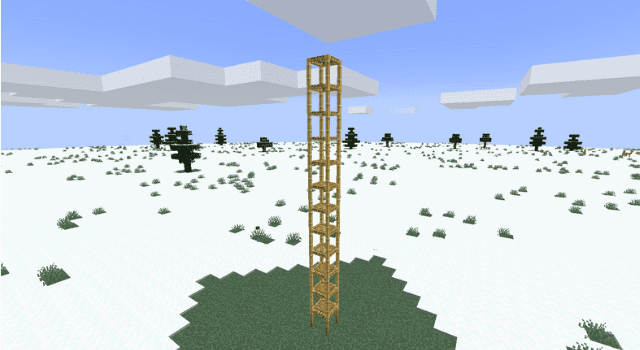
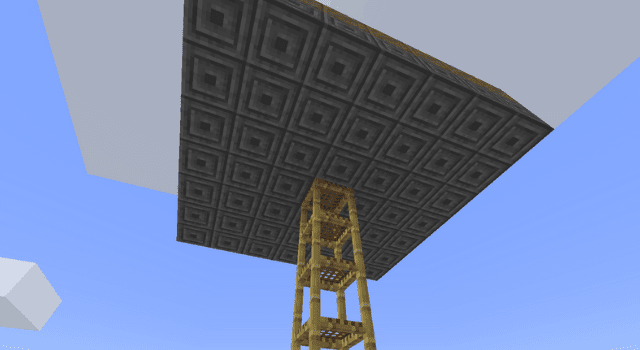
How to Make an Iron Farm in Villager Area
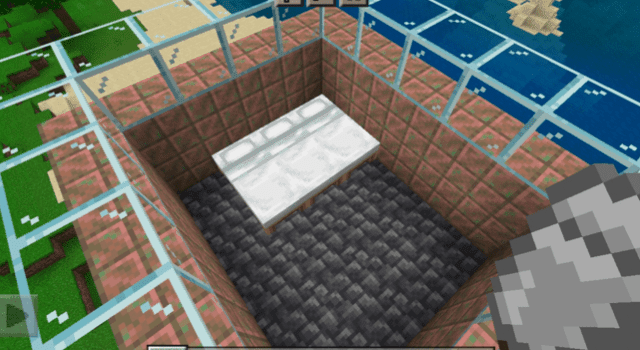
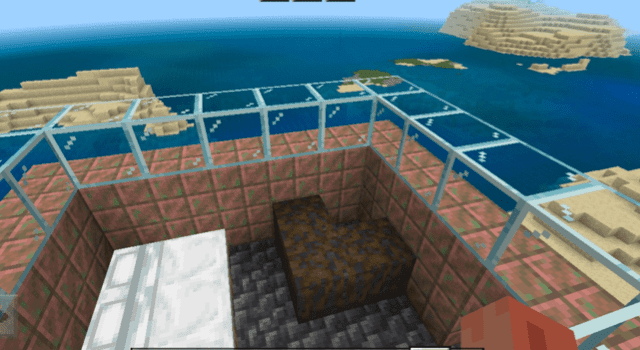
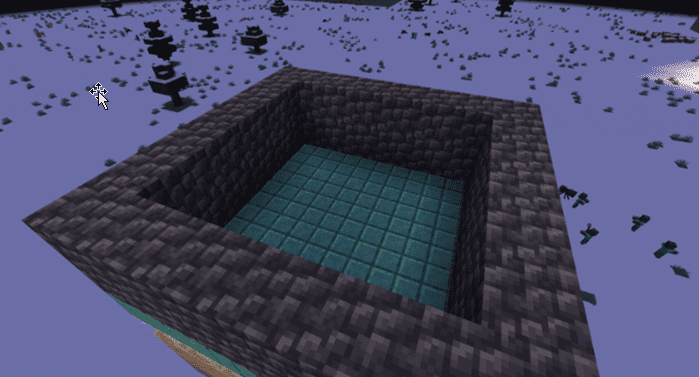
To control where the Iron Golem spawns, you'll need to confine at least three villagers within a floating structure. Here are the steps to create this structure:
How to Make an Iron Farm in Zombie Area
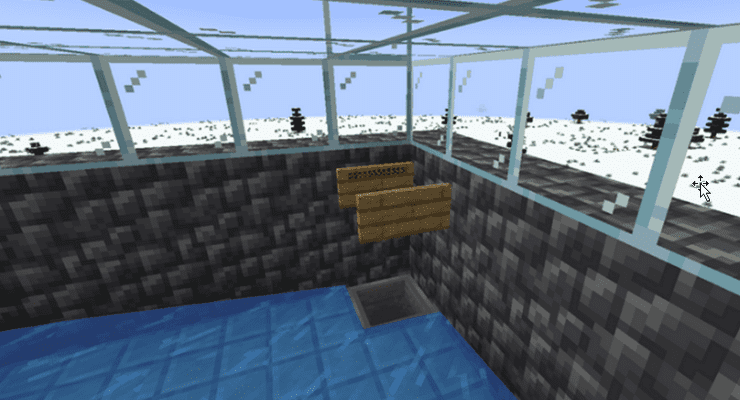
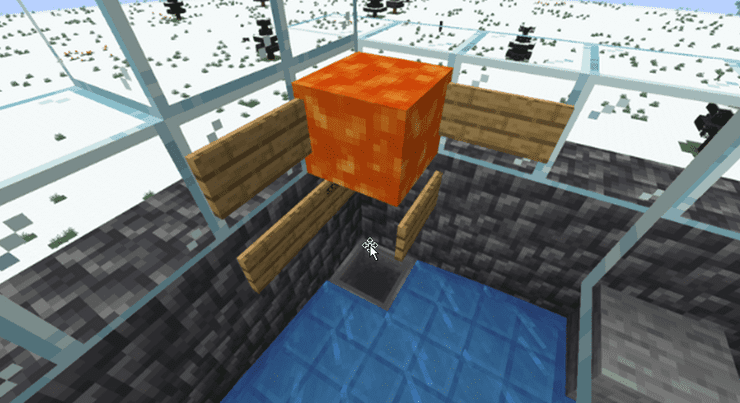
To ensure that the villagers can see the zombie to trigger the Iron Golem spawn but also have the option to "unsee" it to sleep at night, let's create a basic cage for the zombie:
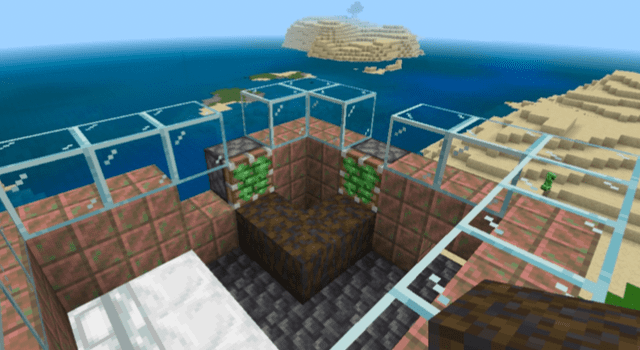
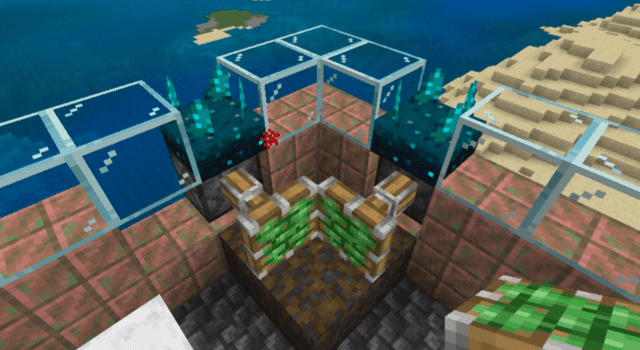

Some builders prefer to design intricate Redstone contraptions for the zombie cage, but using the Sculk Sensor can simplify this process and make it more efficient.
>> You might also like: How to Make Powered Rail With Redstone In Minecraft
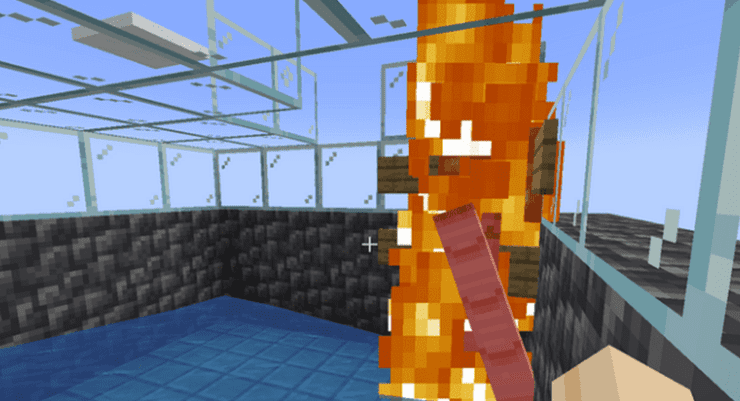
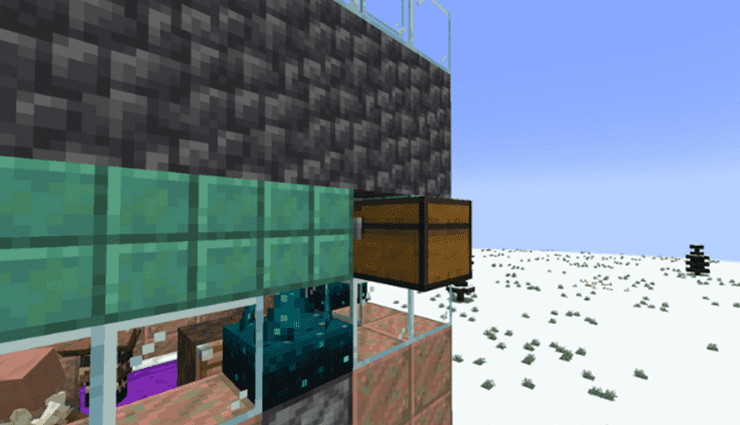
How to Make an Iron Farm in Iron Golem Spawn Area
To set up the spawn and killing area for Iron Golems in your Minecraft iron farm, follow these steps:

How to Get Zombies and Villagers on The Iron Farm
When it comes to transporting mobs to their designated spots in mob-based farms, there are several quick solutions to consider:
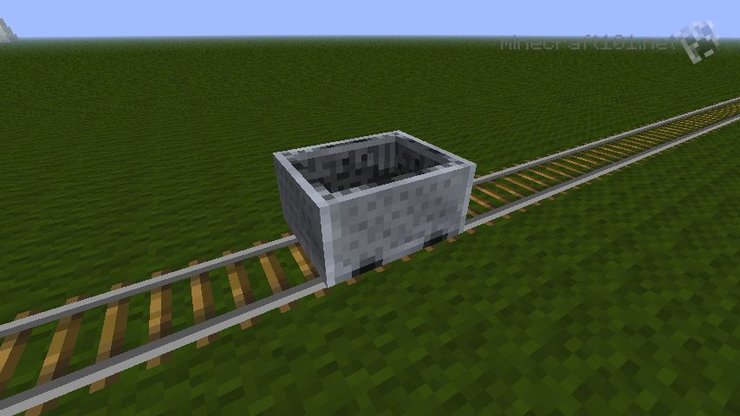
Minecarts
The simplest way to move zombies and villagers into an iron farm is by placing them in minecarts. You can then create a straightforward railroad that leads to the designated spots.
Baiting
If you want to avoid the complexity of minecarts, you can lure the mobs to their designated spots by creating a simple path. For villagers, you can use job site blocks to attract them, while zombies, being hostile mobs, will naturally follow players.
Force
Players looking for a cost-effective method can manually push the mobs along the planned path. However, be cautious not to hit the mobs too much, as excessive force can harm them. This method requires a more delicate touch.
Choose the method that best suits your preferences and the resources available in your Minecraft world to transport mobs effectively to your iron farm or other mob-based farms.
How to Prevent Zombies from Despawning
To prevent a zombie from despawning in its cage due to being out of the area or world reloading in Minecraft, you should use a name tag on the zombie. The specific name you give it doesn't matter; any name will do. However, because of the beds, villagers typically don't face these despawning issues, so you can leave them unnamed if you prefer. Naming the zombie ensures it stays in place and doesn't disappear.
>>> Check out: Top 7 Best Minecraft Books To Check Out


Comments